A successful Ruaka apartment fit-out depends on getting the sequence right: plan first, install services, complete ceilings and floors, fit joinery, then paint and furnish. This approach reduces rework, controls costs and creates a cohesive finished home.
A new apartment in Ruaka may arrive as little more than a shell: bare walls, unfinished floors, a plain ceiling and basic service points. What happens next determines whether the finished home feels considered and cohesive—or patched together.
Thank you for reading this post, don't forget to subscribe!The key is not simply choosing good materials. It is doing the right work in the right order. A well-planned sequence prevents unnecessary rework, protects finished surfaces and keeps the budget under control.
Step 1: Measure and Plan Before Work Begins
Start with a detailed site measure covering walls, windows, doors, ceiling heights and existing service points. From this, develop the floor plan, joinery layouts, ceiling plan, electrical points and lighting scheme.
Planning these elements together ensures that every trade works from the same design intent.
Step 2: Install Services Before Surfaces
Electrical wiring, plumbing, gas lines and extractor ducting should be completed before walls and ceilings are closed.
Decide the positions of TVs, appliances, workstations, bedside tables and lighting early. Moving a socket or water point after finishing can mean cutting into surfaces that have already been completed.
Step 3: Complete Ceilings and Lighting
Gypsum ceilings should be installed before flooring and joinery. This stage generates dust and requires access that becomes difficult once finished elements are in place.
The ceiling design should also coordinate with lighting, curtain tracks, air-conditioning and cabinet heights so that everything aligns as one composition.
Step 4: Floors and Wet Areas
Once overhead and concealed works are complete, move to flooring and wet areas.
Bathrooms and kitchens require particular attention to waterproofing, drainage, falls, tile layouts, screeding and grout lines. Waterproofing must be properly completed and tested before tiles are installed.
For budgeting, separate tile supply, wastage, adhesive, grout, labour, waterproofing and preparation rather than treating everything as one figure.
Step 5: Install the Joinery
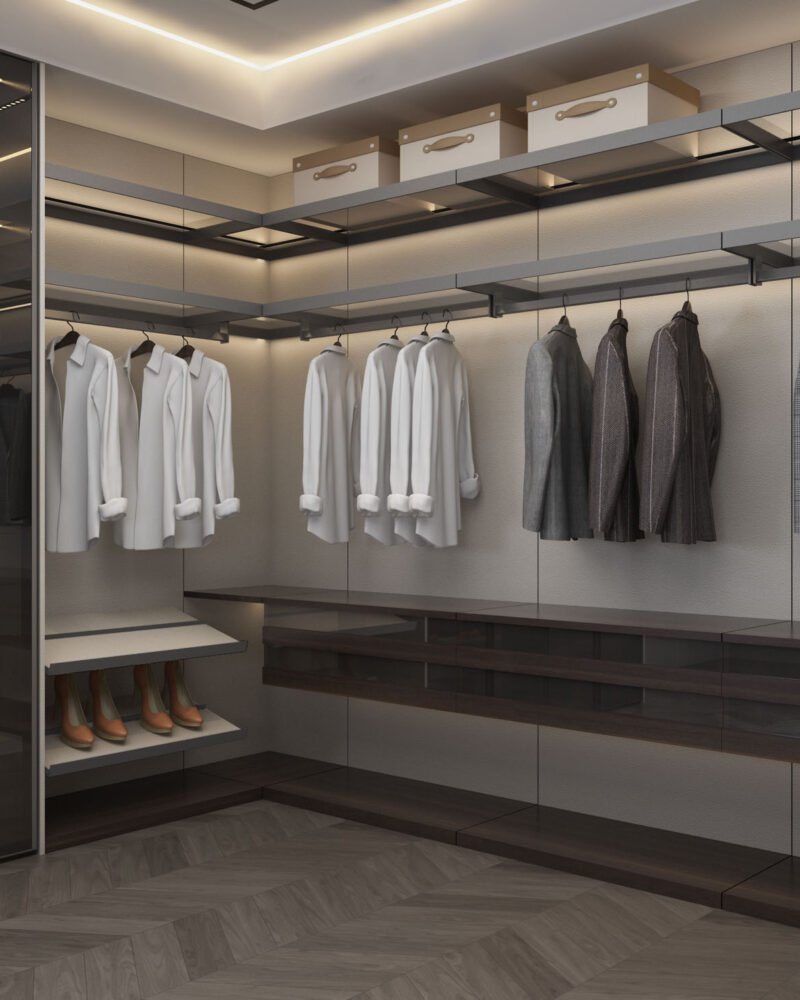
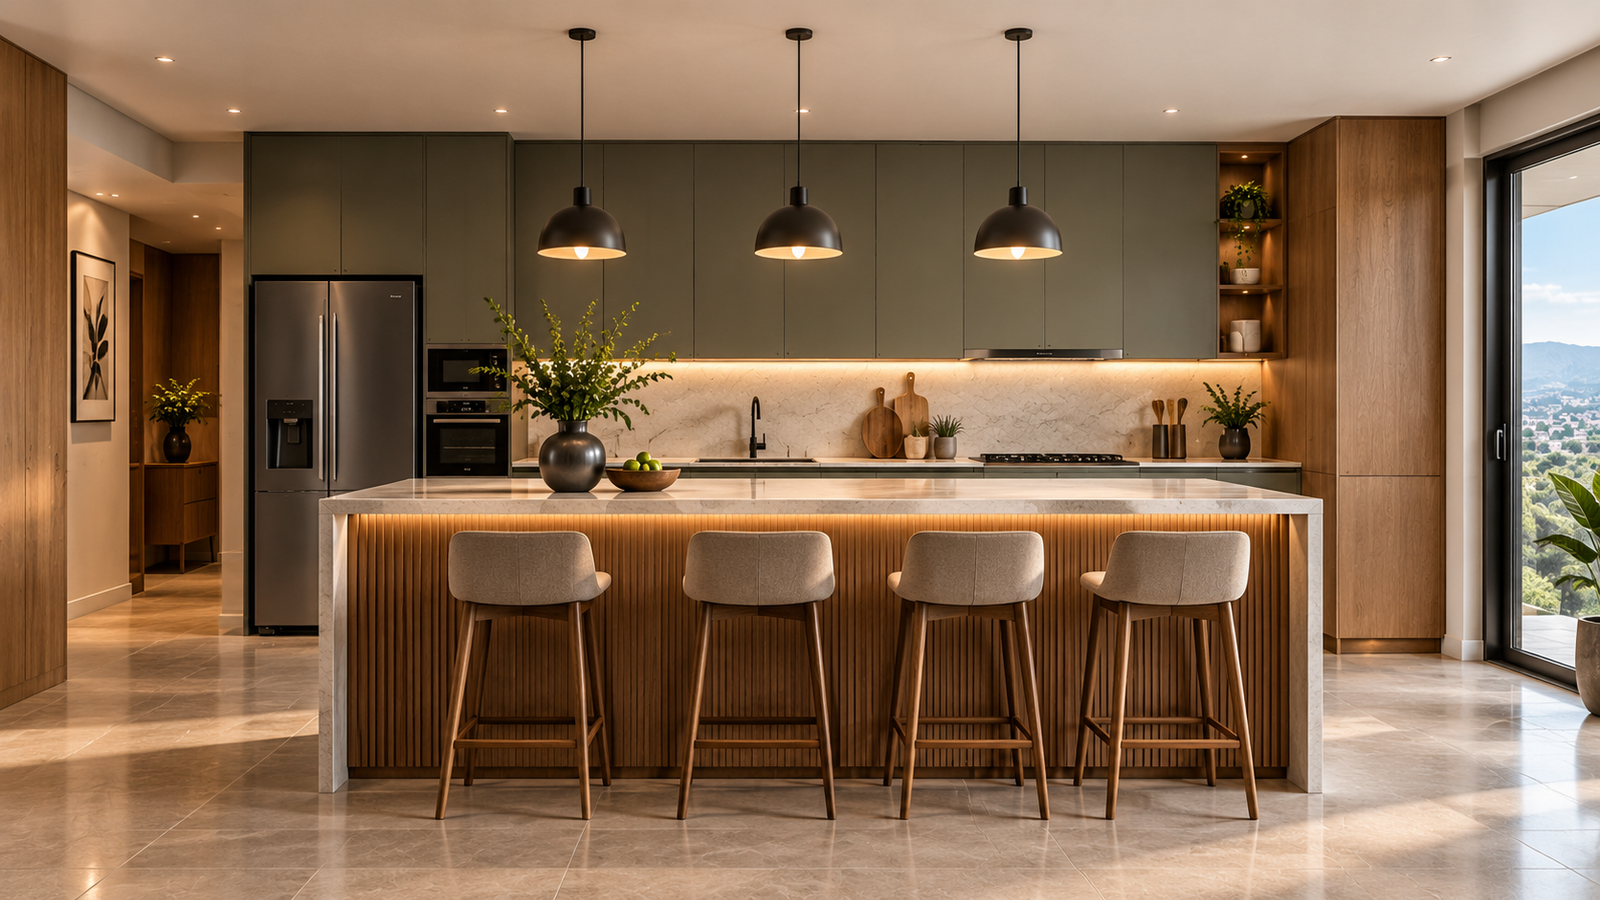
Kitchen cabinets, wardrobes, TV units and other built-ins should follow the major surface works.
At this point, finished floor levels and wall conditions are established, allowing the joinery to be installed with accurate proportions, tight reveals and clean transitions.
Step 6: Paint, Detail and Furnish
Once the major installations are complete, apply the final paint and wall finishes, allowing any necessary touch-ups around the joinery.
Furniture, curtains, lighting accessories and décor come last. These elements should be selected against the actual finished proportions, materials and colour palette of the apartment.
Where Homeowners Lose Money
The most common mistakes are buying furniture before finalising the layout, changing decisions during construction and accepting vague quotations with everything bundled into one figure.
Break the project into clear stages and price them separately. A transparent sequence makes it easier to compare quotations, control changes and identify unexpected costs before they become expensive problems.
A successful apartment fit-out is less about rushing to the finish and more about controlling the sequence. When every stage follows the next logically, the result is cleaner, more efficient and far easier to manage.